Forms are frequently used on Web pages to collect and provide dynamic data. Some examples are forms that provide data from a database on request, registration forms for memberships or events, and forms that help users provide feedback about your site. Word helps you design the form and set the properties for the form elements
Sample forms, such as feedback and survey forms, are available from the Web Page Wizard. You can use the wizard to create a basic form and then modify it to fit your needs. Or if the wizard doesn't contain a form that suits your needs, you can create a form by inserting the controls you want. Here is an example of a form (But please do no click on submit).
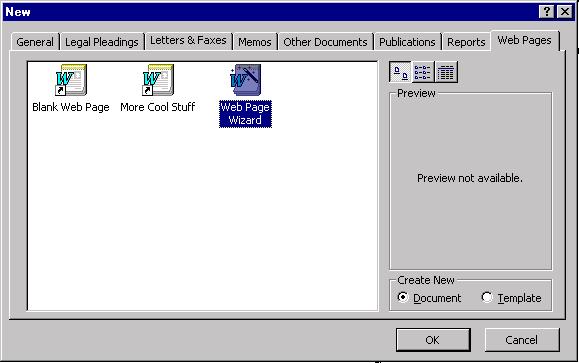
Open Word, and select New from the File Menu. A window box will appear; Select Web Pages and Web Page Wizard, and click OK.
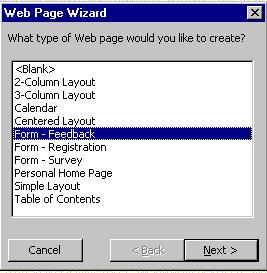
Next a new box will appear so that you can select which type of html document you would like. For this example, choose Form Feedback and click on Next.
The next window will ask you which style you would like to use: you can choose between jazzy, contemporary, professional etc…
This will create a blank page. The next steps are pretty obvious. Just click on the corresponding places and change the text to whatever you want.
When you are finished, save your work. Then select HTML Source from View. This will give your html source. Towards the top of the document you will find the syntax
<FORM>
Replace that with the following syntax:
<FORM ACTION="mailto:name@mail.utexas.edu" METHOD="post">
Every time a person submits the form an email will be sent to you along with a file name formpost. This file will contain the information which the user has inputted. You must be careful to read each file you receive, because every time you receive a new one it will be have the same name and therefore delete the previous one.
You can avoid this problem if you Eudora for emailing. When a new email arrives with an attachment file, Eudora automatically asks where to save the file. As you select where to save the file, rename each file formpost1, formpost2, formpost3, etc…
There is a better way of organizing data which has been sent using forms. Unfortunately, the LRC does not support it because of financial reasons and staff reasons.
You can also add forms boxes manually. Simple select the form type you would like under the Insert/Form menu.
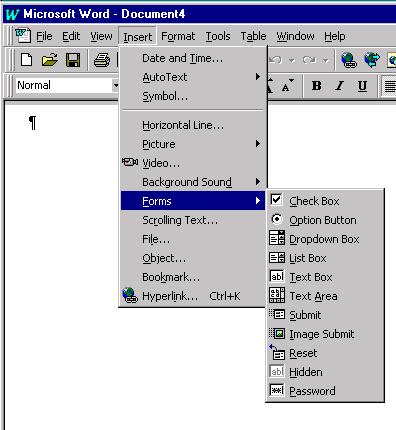
You can then add text to it.
OK, you're done!!