What You Need to Construct a Precipitation Model
Constructing
your Precipitation Model
Create the files required by HEC-HMS to place a run with your precipitation
data. Besides HEC-HMS can accept different types of precipitation models,
only the gageweight type will
be treated here.
There are 2 ways to introduce precipitation data onto HEC-HMS: manually, typing the data, its relationship with the sub-basins and the relative weight of each station in a given sub-basin, or by means of a set of files. The last way will be described here.
The files require by HEC-HMS for the precipitation (gageweight) model is:
- .dss file that contains your precipitation data;
- .dsc file that contains a catalog of your precipitation
- .gages file that contains the type of data, units, start and end time and the pathname
- .precip file that contains the list
of the gages, its spatial position, the place where the data is located
(pathname) on the .dss file, relate the gages to the sub-basins
and give information about the weights of each gage;
What You Need to Construct a Precipitation Model
The computational resources needed are a PC computer with some HEC programs and a text processor. You can download from here to any (temp) directory on your computer the files that you need to run these programs. The HEC programs will be used to construct the .dss and .dsc files.
You probably would like to download a mask of the files that will be used to construct your precipitation model.
Once you have copied your HEC programs (compressed), double click on
to (auto) extract the files. Many programs come in this package, and you
may try some of them, but only two of these DOS programs are needed to
create and reference a DSS time-dependent precipitation file: DSSTS (Data
Storage System - Time Series) and DSSUTL (utilities). DSSTS allows regular
time-series data to be entered manually, or from a file, and transform
it into a working DSS file. The created DSS file can then be edited
by using the DSSUTL program. Cataloging is also conducted by DSSUTL and
provides a means of verifying that data have been interpreted correctly.
At your working directory, if you simply type DSSTS at the DOS prompt, the program will work looking for manual introduction of data. To enable reading from a text file, you will be typing DSSTS i = filename.txt, where i is the acronym from input. Your file is supposed to be on your working directory, otherwise you must inform the full pathname. This step creates the .dss file and is followed by the activation of the DSSUTL program. Now you will type simply the name of the program and you will be prompted to select the .dss file. Type ta t# (where # is the sequential number of the station, beginning on 1) to see the data on your screen. After looking your data you will need to generate a catalog to your .dss file. This is done typing at the prompt ca. By this way you created the .dsc file. Quit is the instruction to leave the program.
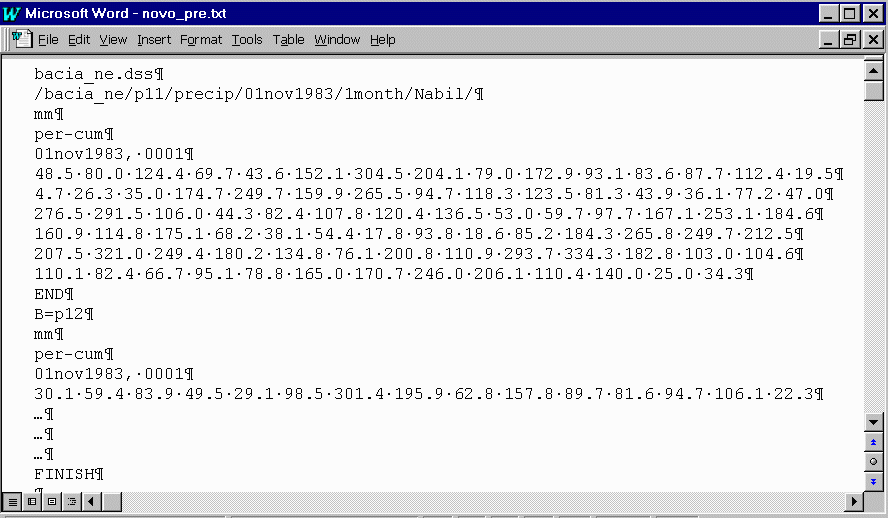
Now let see to the shape of the .txt file that you need to create your .dss file. It wills looks like the one below.

On the first line you have the name of the .dss file that will be created. You can introduce the full pathname if you want to save the file on a different directory. The second line, called the pathname, shows 6 fields named A to F: /Name of the project on HMS/Name of the gage station/Type of the data (it could be flow)/Start time of the data (international notation)/Time step (24 hours notation)/Anything to refer to/. The third line indicate the units of these data, the fourth how data is introduced (per-cum represents incremental precipitation). On the fifth line you have the start day and time. The regular time interval data ends with an END statement follow these lines. To the next station, the changes on the pathname must be provided, units, how data is introduced and start day and time. After all data is introduced, a FINISH statement ends the file. It's to be noted that a RETURN character is required at the end of each line.
You can use the mask that you downloaded to construct your .txt file and run both programs DSSTS and DSSUTL.
Constructing
your Precipitation Model
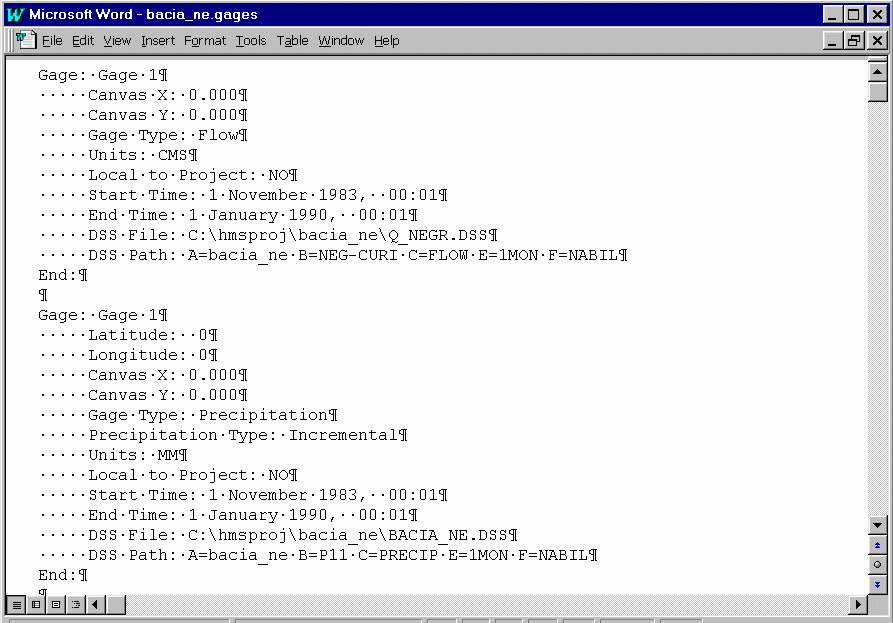
You will notice that the first block is related to flow data. This is because a file similar to the one with precipitation data was created (and has only one gage). This is the observed data. From a text file that contain the observed flow data a .dss file was created and the .gages file present all the gages information. At HMS the schematic is the place where you can connect the observed data to any feature (basin, reach, junction...). Click on the feature with the left button and select Observed Flow... and select the gage related to this feature.
In this file, after the position of the gage, its type and the type
of the (precipitation) data, there are information about the units employed
to represent the data, a field filled by HMS, the start and end time of
the data and two different pathnames related to the file location
and the gage characterization on the .dss file.
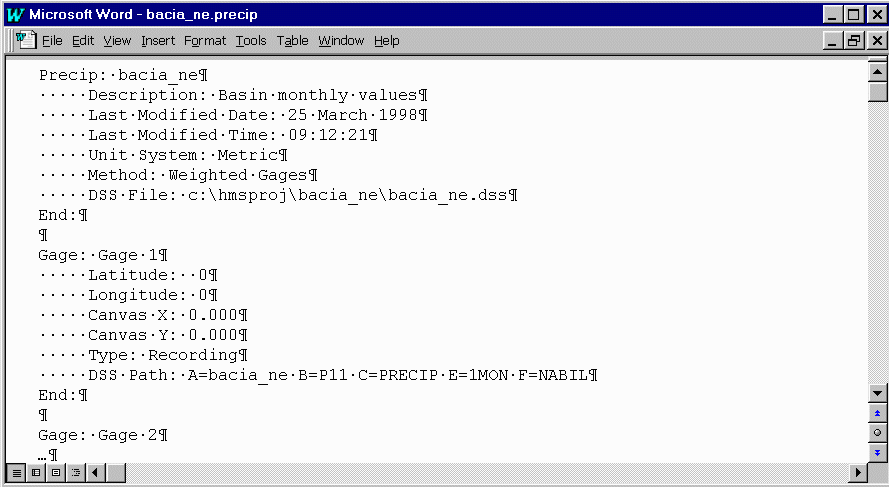
This is followed by a description of each gage station, its coordinates,
position on the schematic, if it is a recording gage with a time series
(while non-recording means that you only have the total accumulated), and
the pathname employed by HEC .dss file. Coordinates are not required
if you are not interpolating data.
After the last gage the file has information about the method, the
weighting scheme (weights are always 1 if you are introducing precipitation
averaged for the sub basins) and if you accept than missing data is set
to zero (if not, the program will stop at a missing time interval).

The sub basins must be related with the gages, and this is what the
second part of the file shows. Volume and temporal distribution weights
must be present and if you have more than one station related to a sub
basin this relative weights should be set.
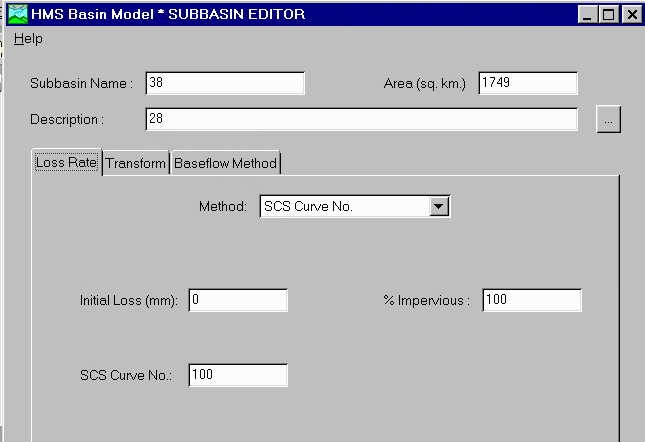
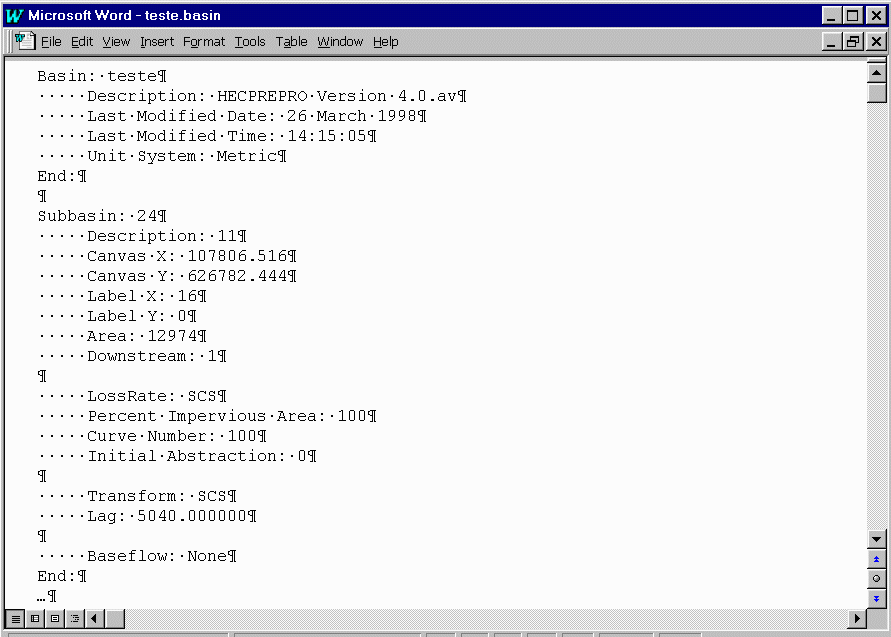
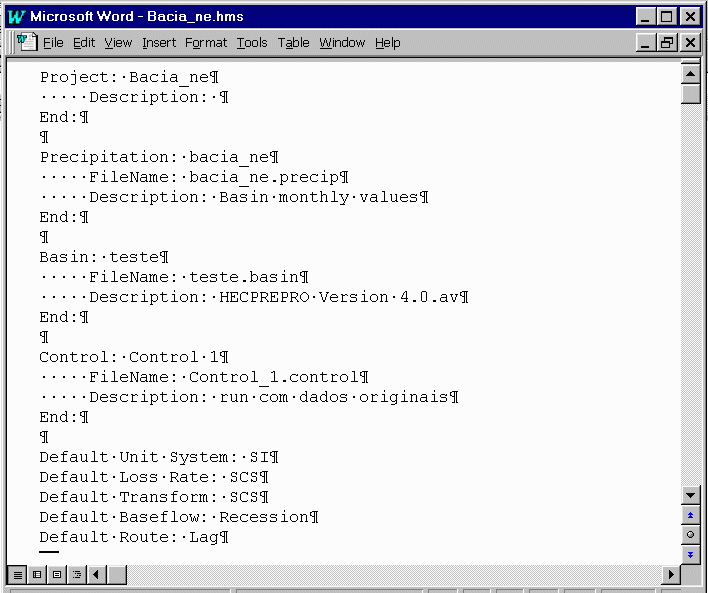
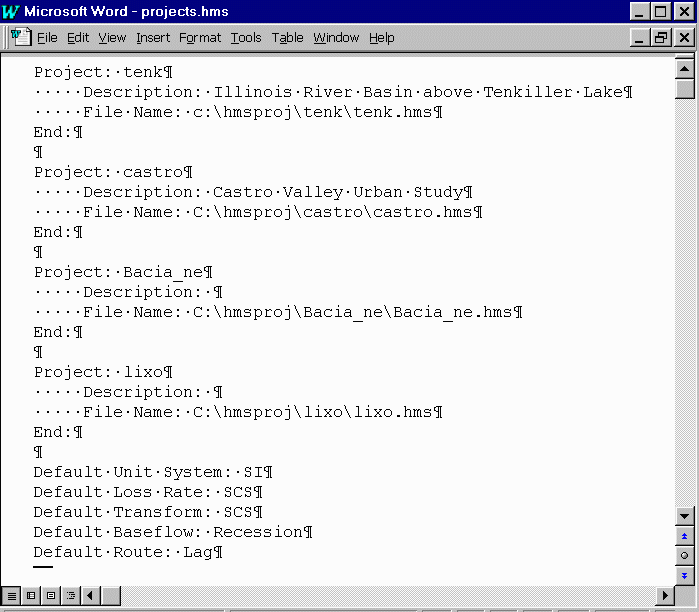
After these steps, you can open HMS and your project. The precipitation
model is there!!
Back to Nabil's Homepage